Flutter Version Management (FVM) is a CLI Tool, which allows you to manage versions of the Flutter SDK in different projects. It’s a very great tool that every Flutter Developer should be familiar with. That’s why I will teach you how to use FVM!
Why do I need FVM?
Okay, so let’s talk about why we even need FVM. Let’s say you have one project, which will be developed on top of the Flutter Stable channel. But you also have another project, which is based on the Dev channel, because you always want the newest features. Every time you switch between these projects, you have to re-download the Flutter SDK to use the corresponding channel. That’s a big mess. FVM allows us to manage multiple Flutter SDKs on our machine and switch easily between different channels.
Installation
Because FVM not only manages things on a single project, we have to install it globally. For each platform there are different setups:
Windows
Run choco install fvm.
MacOS & Linux
If you haven’t already, install Homebrew package manager and run the following commands:
Install: brew tap leoafarias/fvm; brew install fvm.
Uninstall: brew uninstall fvm; brew untap leoafaris/fvm.
Pub
It is possible to install fvm just with dart pub, but if you plan on using FVM to mange your global Flutter install, it’s recommended installing as a standalone.
dart pub global activate fvm
After using one of the options to install fvm, you should be able to run the command fvm doctor.
Configuration
We want to recreate the example written in “Why do I need FVM?” with FVM. For that, we first have to install the stable channel. We can do this with fvm install stable. You can check, if your version is installed with fvm list. It should include your stable version. If you want to use the stable branch as the main branch that we use globally, we have to write fvm global stable. You may get a message, that your current path points to another directory. Change the environment variable for Flutter on your operating system. Restart your terminal and if you now execute fvm list, you will see, a global tag there as well. You can also see with flutter --version, that you are currently on the stable channel.
Now we also want to install the dev version. To do so, we just execute fvm install dev. Now we can call fvm list again and should see a stable and dev channel.
If you want to check, if it’s working properly, you can set the dev channel to global and call flutter --version. You can see that you are now on the dev channel. But let’s switch it back to stable.
Create projects
Now, create two projects. For one project, you have the global version as stable and for the other one, you have the global version as a dev. Now we open both projects in the terminal (Or you can also use your favorite IDE terminal). In the stable project, you have to call fvm use stable and in the dev project, you have to call fvm use dev. In both directories, you should see a folder called **.fvm** in the root of your project.
Because everyone uses his preferred IDE, I won’t explain how to configure FVM for your IDE. You can check it out here.
Running your project
Now you literally don’t have to do anything. Just run your project as you normally would and it automatically uses stable or dev channel. That’s the power of FVM.
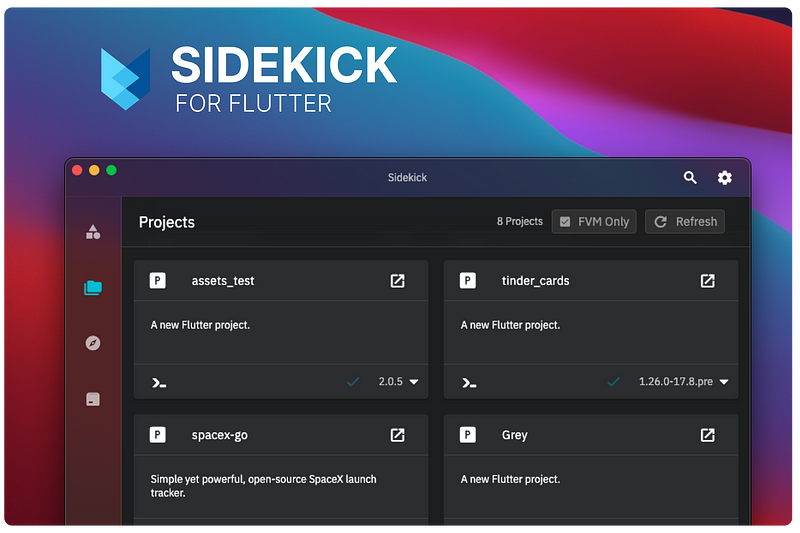
Flutter Sidekick
Flutter Sidekick is an app for MacOS, Windows and Linux, which has integrated support for FVM. You don’t have to execute any command and manage all your FVM projects with it.
Further reading & Conclusion
In this article, you have learned the basics of the flutter SDK management tool “FVM”. You have seen how easy it is to use and how powerful it can be when it comes to managing Flutter versions.
You can unfold the whole power of FVM if you use packages like Riverpod, Isar or Flutter Hooks. If you want to learn these additions, I have entire tutorials about them. Check them out here.
In the following few articles, I will introduce more somewhat complicated packages and explain them. If you don’t want to miss this, I recommend you to follow me. I tried my best to write the easiest tutorial which everyone understands. If you appreciate this work, I would be very grateful if you could support this quality content and give me some claps!
Thanks for reading, have a nice day!
NOTICE: This article is based on the official FVM documentation. All the information provided here is from this site. FVM Documentation Source: https://fvm.app